Friday, June 10, 2016

A return to blogging: Two for the price of one

A lot has happened in a year!  Mostly this guy formerly known as Bean:


Who now looks like this guy and is known as Ben:

He's pretty great, but having a little dude and being a full-time working mom doesn't leave a whole lot of time for quilting!  I have managed to get a few projects done, including this one that has been hanging in my "only a flimsy" closet for a really long time.

This started as a Lap of Luxe quilt in Honey Child with a few other FQ thrown in to make it work.  I bought the back and binding, but never put it together.  And then two friends announced that they were pregnant with baby girls, and I needed to get kind of quick baby quilts together, so I pulled it out and deconstructed it!


I added one block and created two baby quilts!  One is four blocks by three blocks, and the other is three by three.


I quilted them both on the diagonal in the direction of the "arrows."  On one I did double lines of quilting spaced further apart and the other is single lines of quilting closer together.

They are both backed in a gold tweed print from JoAnn's and the binding is a pink and gold polka dot.

Hopefully they will be two well loved little quilts, rather than one big one still hanging halfway finished in my closet!


Linking up with Finish it Up Friday at Crazy Mom Quilts!

Friday, June 26, 2015

Turner's t-shirt quilt

About a year ago I suggested to my sister-in-law that I could make the oldest nephew, Turner, a t-shirt quilt for his high school graduation.  My mom has made several t-shirt quilts, so I had an idea of what I was getting in to, and I already had a bolt of interfacing!  Jocelyn loved the idea, so she set about "stealing" t-shirts from Turner over the next few months. 

There are 30 squares in the quilt, but some of the squares are the back and front from the same shirt.  I cut (most of) the squares with a 12.5" square ruler, backed it with interfacing and sewed the whole thing with 1/2 inch seams for extra sturdiness.  The borders are Kona khaki, the backing is a flannel shirting, and the binding is the last of the red Marbles print.

The whole enchilada - it's a big one!

Backing (I didn't match my plaids - oh well)

Close-up of binding

Close-up of quilting
 I sent the quilt out for quilting - mostly due to the massive (for me) size, the whole interfacing situation, and the fact that I was pretty pregnant by the time it was ready.

I think it came out great, and Turner (and the rest of the family) really seemed to like it.  The funniest part was that when he opened it he said "hey, I was looking for that shirt!"  I guess it really was a surprise!

Linking up with Confessions of a Fabric Addict!

Sunday, May 3, 2015

A (mostly) finished nursery for Bean!

Bean's nursery is (mostly) finished!  Yay!  I'm pretty happy with how things turned out in this little room - hopefully it will be a bright and cheerful place for us to spend time in.  We don't know if Bean is a boy or a girl, so I tried to go with a bright color palate (no pastel greens or yellows or tans or greys here!) that was also gender neutral.  The wall color is from Sherwin Williams and is called Bubble.

I borrowed heavily from Pinterest when figuring out how to "build" the nursery.  (You can check out my Pinterest boards here for general ideas and here for sewing projects.)  And now here's a little tour :)

This is the view from the hall door.  When Bean arrives (and we know his/her name!) I'm going to spray paint some letters with his/her initials to go above the cubbies.  I made the curtains (you can see the red pattern better in the photo below), complete with blackout liner.  Dresser and cubbies from Ikea!
This corner has changed already - I put the diaper pail here and moved this adorable cloth bucket over in the other corner by the crib.  The bucket was a baby shower gift and it has a bunch of baby toys in it.

I made three flannel covers for the changing pad.  These were super easy and my favorite project of the room.
Here's the "reading nook."  I made new pads for the rocking chair and my husband spray painted it white.  Rocker was a freebie hand-me-down, book ledges are from Ikea.
I put extra "linens" in the bottom dresser drawer.  On the left are the two extra crib sheets and in the middle are the two extra changing pad covers.  The big black and white print item is a car seat cover/canopy (purchased) and the little white things are changing pad liners.
And here's the other side of the room!  Now the toy bucket is in that right corner.
My co-worker Debbie MADE this cool art for Bean! 
Here's a close-up of the third crib sheet - cheery multicolored polka dots.
And a close-up of the whole crib.  Another co-worker/neighbor, Anna, made the quilt hanging over the side there - I love the bright colors!  The crib skirt is made of the same fabric as the curtains - I'm not sure I'd bother with this if I were to do things over again.  The rug is from Overstock.

Bean's closet!  We used an Ikea shelving unit to make this a (hopefully) more functional space than just the hanging rack and shelf that were there before.  Toys can go in those bottom two shelves for easier access when Bean is older.
That drawer houses a bunch of (mostly) hand-made blankets for Bean!  There's a lot of love in this drawer!  This kid will be snug as a bug in a rug :)
I thought it'd be a good idea to get a hanging unit for the back of the door.  I figure we can put anything from towels to lobster/crab hats there :)
And here's my last completed Bean project - some more burp cloths.  One of my co-workers made me some, but I figure you can't have too many of these.  And I had leftover flannel that was begging to be used...

So that's where things stand at the moment!  There are two unfinished items for the room still - a mobile and some art for the walls.  The art has been purchased, and we're waiting for delivery.  The circles are all cut out for the mobile - I just need to sew them together, tie them onto a wreath form (that I purchased forever ago and never used for a wreath) and then hang it up.  I'd also like to (eventually) make some squishy blocks out of fabric scraps from the various sewing projects.  And maybe some variously sized cloth bins/boxes?  But things are pretty much done for now!

Hope you enjoyed the tour!

Linking up with Confessions of a Fabric Addict.

Sunday, April 12, 2015

Sunday Stash #31 - Kona Solids

Elizabeth Hartman's blog was my gateway into the world of modern quilting.  I have no recollection of how I stumbled upon it, and I've only made one of her patterns (I think), but I always enjoy seeing what she puts out into the blogosphere.

A while back (maybe over the summer?  Or maybe longer than that) she curated a collection of Kona solids that I admired for their bright, cheery nature but didn't have any reason to buy.  Pause there.


Back in January, Kristel mentioned on her blog that she had bought some solid Kona roll-ups after being inspired by an all-solids Jelly Roll Race quilt that she'd spotted on M-R's blog.  Kristel confessed to not really liking Jelly Roll Race quilts, but being totally inspired by M-R's all-solids version.  As I generally felt much the same way, I had to click over and check it out.  And I loved it too!  Not enough to immediately purchase anything, but enough to tuck the thought away in the back of my mind.


Un-pause.  Putting those two thoughts together, when I spotted the roll-up of Elizabeth's collection in the Craftsy sale section, I figured it was a sign.  Who am I to argue with the universe about these things?

Linking up with Molli Sparkles!

Sunday, April 5, 2015

Sunday Stash #30 - Detour


After my last attempt to keep boy-friendly fabric on hand was a bit of a flop, I've been keeping an eye out for something more suitable.  This rollie polie of Detour by Riley Blake was in the Craftsy sale section and I thought it might fit the bill.  (You can see more of the designs in the fabric here.  The colors are mostly blues, greys and reds, with some burnt orange/tan.) 


The only problem was that I've never bought a rollie polie before, because what does one do with just 18 strips??

Then I remembered the Fat Quarter Shop's Jelly Roll Jam pattern and decided to investigate further.  It turns out that while the fabric requirements list one whole jelly roll, that actually makes two tops, and you only need 18 strips to make each one (baby sized)!  Perfect!  It's hard to beat making a top for only $8!  Granted, I'll need to figure out binding and backing, but hopefully that can come from stash.  So into the virtual cart it went :)


Linking up with Molli Sparkles!  And Happy Easter!

Monday, March 30, 2015

Sunday Stash (on Monday) #29 - birthday buys, part 3

My final birthday buy to share is from Craftsy as part of their spring sale.  I don't have any real favorite designers, although if pressed I'd have to say I tend to like Joel Dewberry's lines (I'm VERY SLOWLY working up a Swoon with Bungalow).  So when I saw this Triple Barn Star kit in Birch Farm listed in the sale section I decided to go for it.

Here's what came in the kit, along with white for the background and an electronic copy of the pattern:
30 fat quarters?

I was a bit confused by all the FQs, because the kit description (I thought, I can't find it anymore) listed the fabric requirements in terms of yardage.  The PDF of the pattern, though, lists "20 or more FQ" as what is needed for the stars, with an additional 5/8y needed for binding.  Since I got 30 FQ, I'm hoping that I can set aside some of them to use for the binding and use the bulk of the FQ for the stars.  Fingers crossed.

Anyway, here's some more photos of the various prints.  As far as I can tell there is one of each of the prints in each colorway, with the exception of the "chicken coop" print, which has two of each.

Top left: Barn Owl; top right: Horse Blanket; bottom left: Prism; bottom right: Lightning Bugs

Chicken Coop - two of each print.  Will possibly save these for binding?
Top left: Feedsack; bottom left: Dutch Oven; right: Hydrangea

Top: Chrysanthemum; bottom: Antler Damask
So that's the end of my birthday buys!  Although, as I mentioned last week, Craftsy had another sale last weekend (I need to stop browsing the sale section!) and I made a couple more purchases.  But I'll save those for another Sunday.

Linking up (belatedly!) with Molli Sparkles!

Sunday, March 22, 2015

Sunday Stash #28 - birthday buys, part 2!

I forgot I was going to be out of town last week, so this week is a double share!  I'm still going through my birthday purchases, and have one more to show you next week.  And then maybe a couple of things the week after that, because Craftsy went and had another sale.  Darn them.

So yes, I bought several things from Craftsy a few weeks ago, including a quilt kit of Amy Butler fabric from her Love line.  The accompanying 
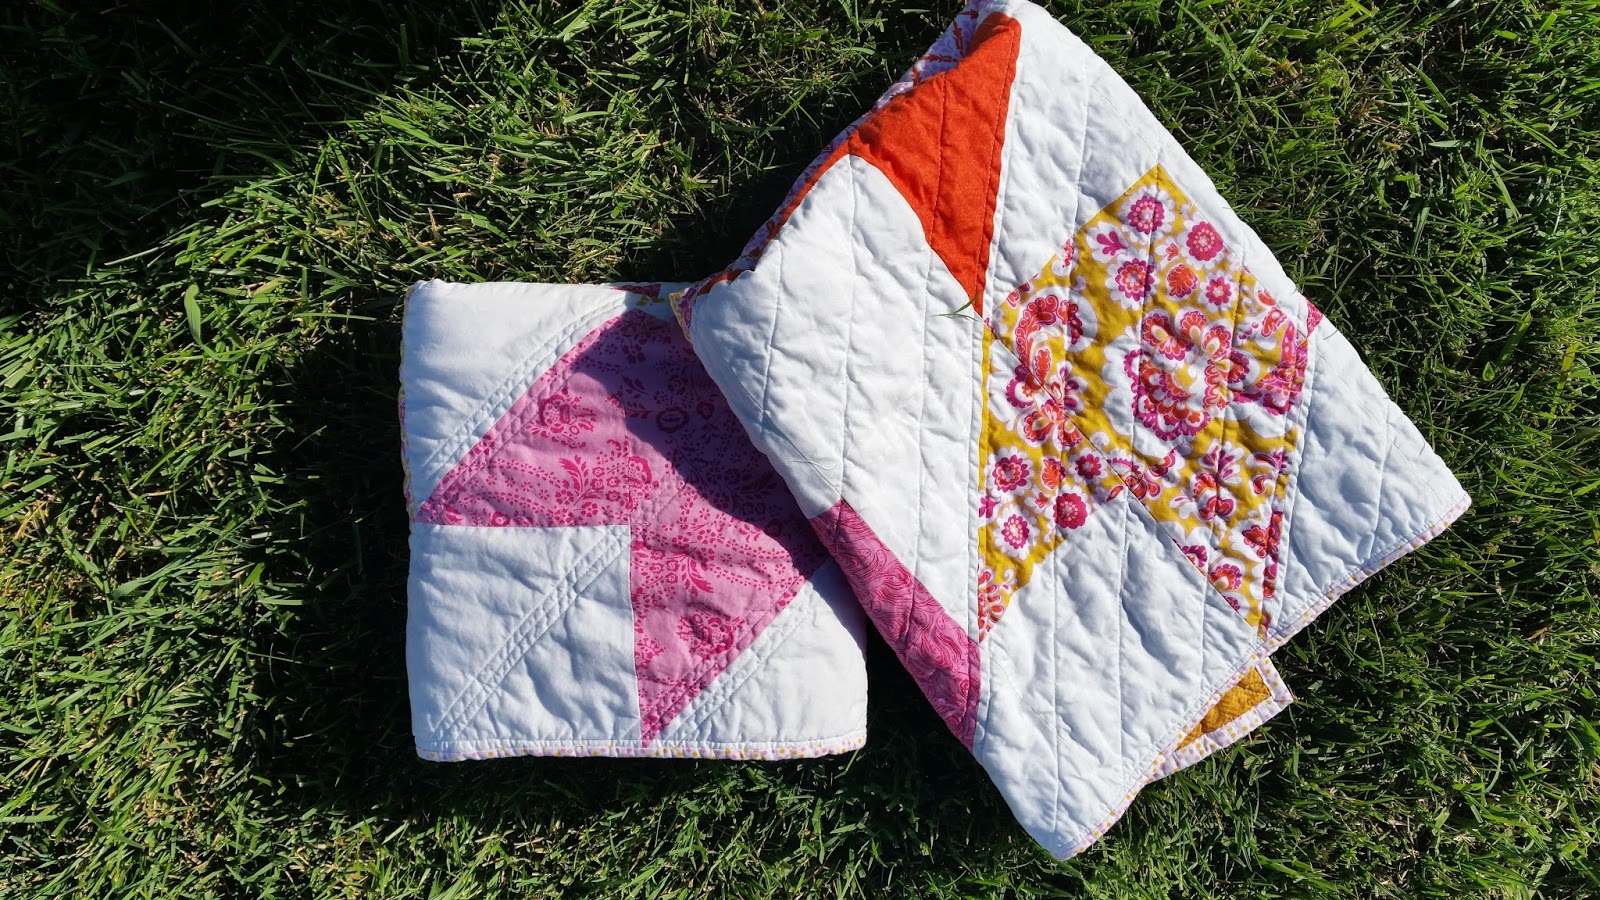
pattern is for a garden bricks type layout, which is nice and simple and I figured would be good for post-baby sewing when my brain might not be working so well :)  Plus, I thought the colors would be a nice change of pace from the usual "girly" color palates if needed in the future.  I've not purchased any Amy Butler before, but I'm glad that this pattern uses larger blocks, as the prints are also larger scale.


"Love" this selvedge!
Getting away from Craftsy for a moment, Southern Fabric has "daily deals" and I decided to hop on board with one of those.  This is a layer cake of the Mist colorway from Violet Craft's Brambleberry Ridge.  I bought it thinking that it would be more of a grey-grey, and therefore more boy-friendly, but it's definitely got a violet-type tinge, to me at least, which, with the gold shimmer, puts it more in the girly camp.  I also decided to splurge on a partial layer cake because Sarah had just posted a new method for making 16-patch checkerboard blocks that I thought looked kind of neat.  You pair your layer cake pieces, and each pairing makes a pair of checkerboards.  The bundle has 18 squares, so I'm hoping I can incorporate two more from my stash so that I can have a final layout of 4 blocks by five blocks.  We'll see.

These are the only ones with no shimmer.
All the gold is shimmery!
Shimmery trees and shimmery birds.
Next week I've got another quilt kit to show.  I've never purchased kits before - I'm hoping it works out well!

Linking up with Molli Sparkles!